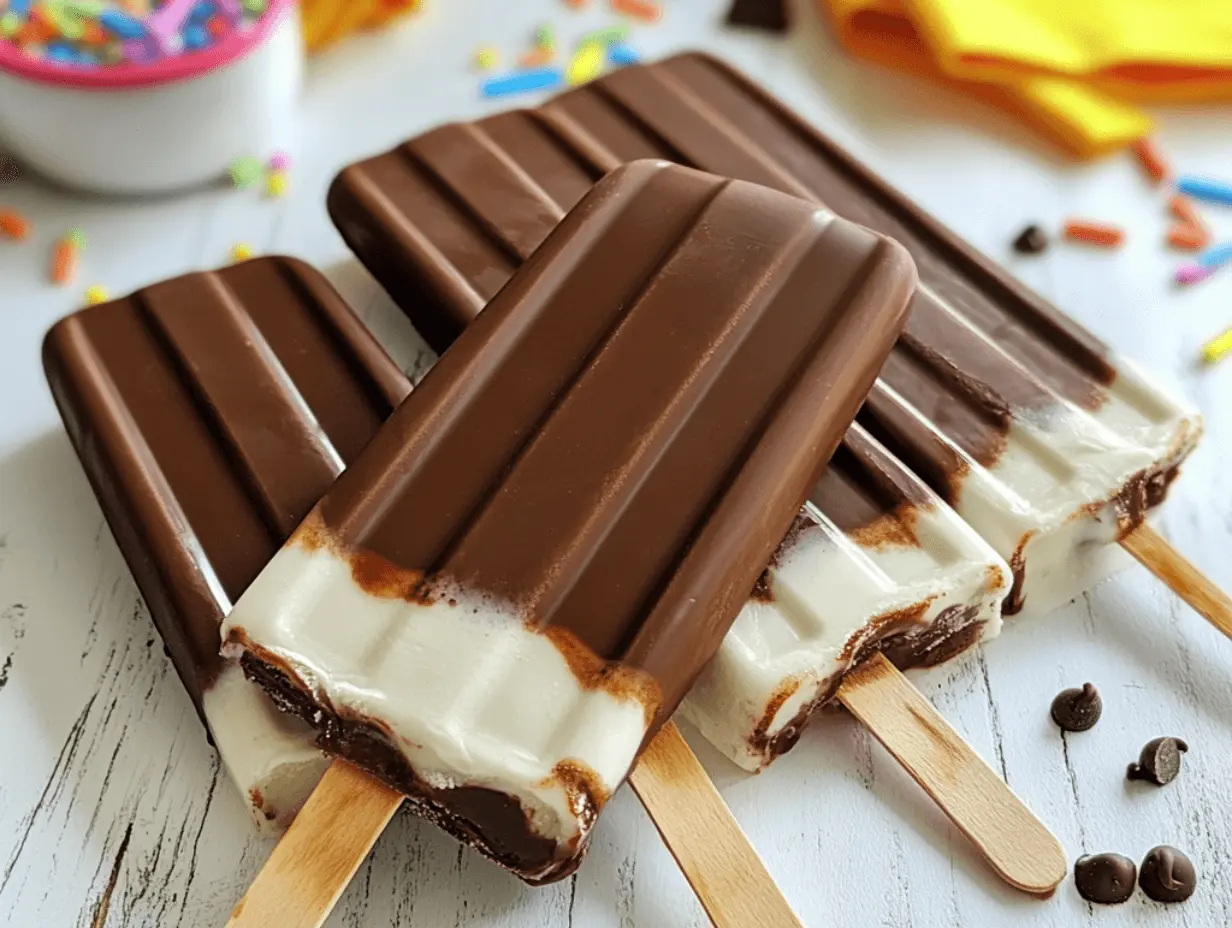
If you’re a fan of classic treats and enjoy a touch of creativity in the kitchen, the best homemade Eskimo Pie popsicle recipe is just what you need. This delightful frozen dessert combines creamy ice cream with a rich chocolate coating, creating a treat that is both nostalgic and satisfying. Whether you’re planning a summer party, looking for a fun activity with the kids, or just craving a sweet indulgence, this recipe is sure to please. In this comprehensive guide, we’ll cover everything you need to know to make the perfect Eskimo Pie popsicles, from ingredients and equipment to tips, variations, and storage advice.
Ingredients You’ll Need
To create the best homemade Eskimo Pie popsicle, you’ll need a few key ingredients. Here’s what you’ll need:
1. Vanilla Ice Cream (or Your Favorite Flavor)
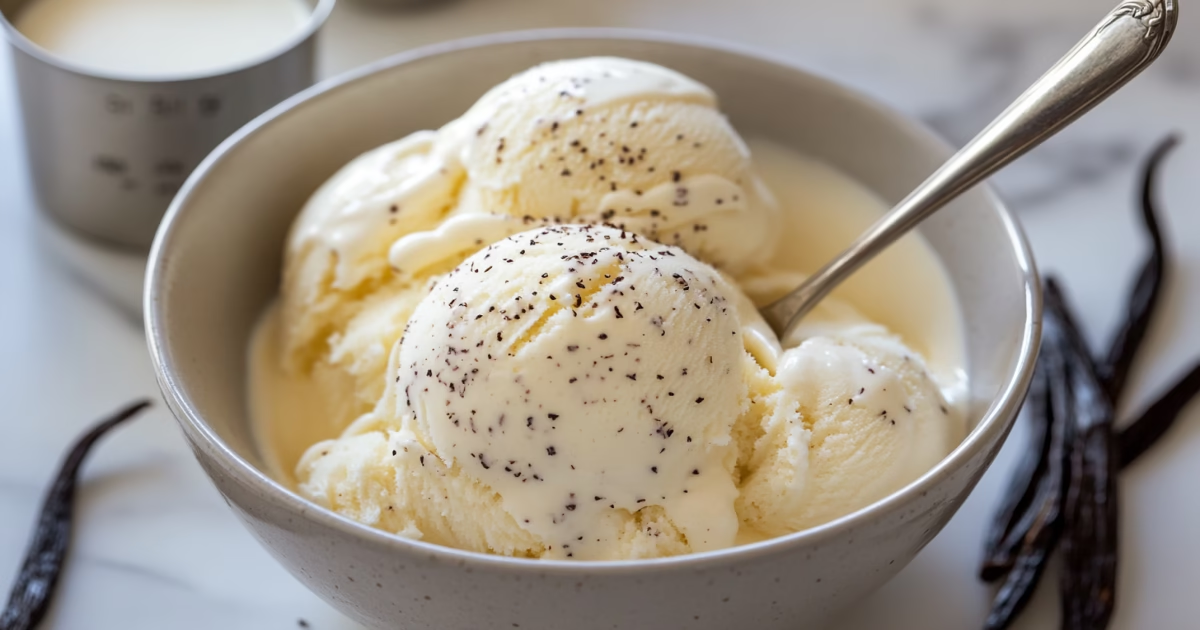
The base of your Eskimo Pie popsicle is vanilla ice cream, but feel free to use any flavor you love. Vanilla provides a classic taste that pairs perfectly with the chocolate coating, but flavors like chocolate, strawberry, or even coffee can add a unique twist.
2. High-Quality Chocolate
For the chocolate coating, choose high-quality chocolate. You can use milk, dark, or white chocolate depending on your preference. High-quality chocolate will melt smoothly and provide a rich, creamy coating that enhances the overall taste of your popsicles.
3. Coconut Oil
Coconut oil is used to help the chocolate coating set properly. It adds a bit of flexibility to the chocolate, making it less likely to crack when you bite into your popsicle. If you prefer, you can use other oils like vegetable oil, but coconut oil adds a nice flavor.
4. Popsicle Molds
Popsicle molds are essential for shaping your Eskimo Pie popsicles. They come in various sizes and shapes, so you can choose the one that best fits your needs. Silicone molds are particularly easy to use as they allow for easy removal of the popsicles.
5. Popsicle Sticks
Popsicle sticks are needed to hold the popsicles. You can find these sticks at most craft stores or online. If you’re making mini popsicles, look for smaller sticks that fit your molds.
Equipment Required
Before you start making your Eskimo Pie popsicles, gather the necessary equipment:
1. Popsicle Molds
Choose the right size and shape for your popsicles. Silicone molds are highly recommended as they make it easier to release the popsicles once frozen.
2. Small Saucepan
You’ll need a small saucepan to melt the chocolate. Using a saucepan with a heavy bottom can help ensure that the chocolate melts evenly without burning.
3. Spatula
A spatula is useful for stirring the melted chocolate and ensuring it’s smooth and well combined.
4. Baking Sheet
A baking sheet lined with parchment paper is ideal for setting the coated popsicles. It prevents them from sticking and helps them freeze evenly.
5. Parchment Paper
Parchment paper is used to line the baking sheet and separate layers of popsicles to prevent sticking.
Step-by-Step Instructions

Now that you have all your ingredients and equipment ready, follow these detailed steps to make your Eskimo Pie popsicles:
1. Prepare the Ice Cream
Begin by scooping your chosen ice cream into the popsicle molds. If you’re using a tub of ice cream, let it soften slightly at room temperature for easier scooping. Fill each mold with ice cream, making sure to leave a bit of space at the top for the chocolate coating. Insert a popsicle stick into the center of each mold. Make sure the stick is centered and upright. Freeze the molds for at least 4 hours, or until the ice cream is completely solid.
2. Melt the Chocolate
While the ice cream is freezing, prepare the chocolate coating. Place your chosen chocolate and coconut oil in a small saucepan. Melt the chocolate over low heat, stirring constantly to prevent it from burning. Once the chocolate is fully melted and smooth, please remove it from the heat and let it cool slightly. The chocolate should be warm but not too hot, as extremely hot chocolate can melt the ice cream when dipped.
3. Coat the Popsicles
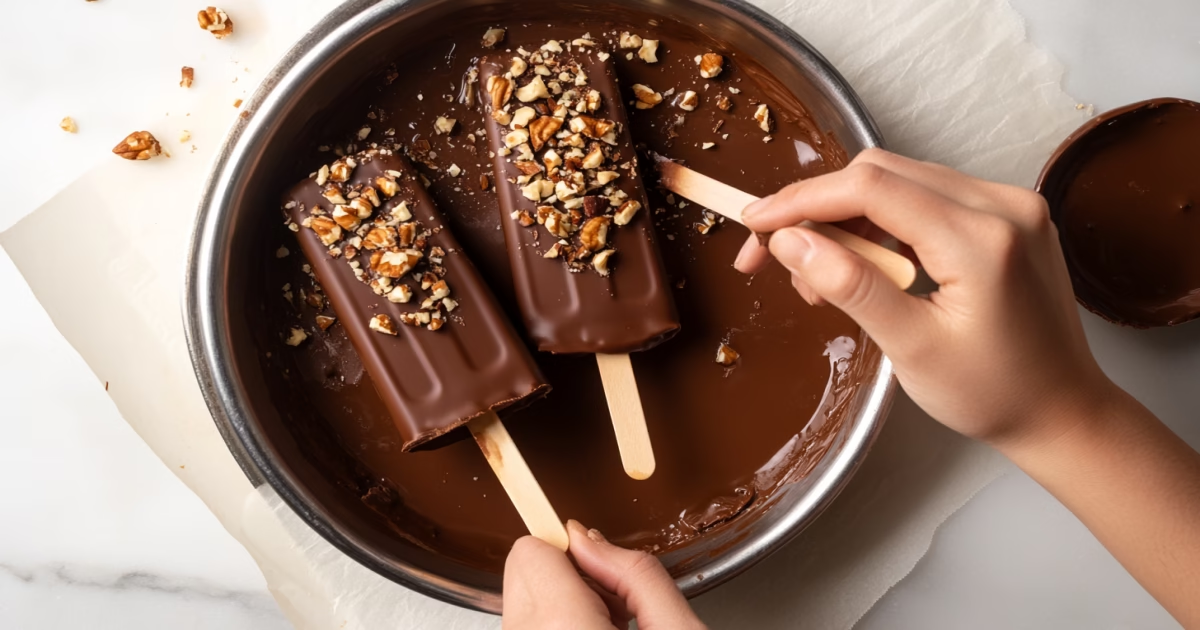
Once the ice cream is frozen solid, remove the popsicles from the molds. If you’re having trouble removing them, run warm water over the outside of the mold for a few seconds. Dip each popsicle into the melted chocolate, covering it completely. For a thicker coating, dip the popsicle a second time. If desired, sprinkle with toppings like chopped nuts or colorful sprinkles while the chocolate is still wet.
4. Freeze Again
After coating the popsicles, place them on a parchment-lined baking sheet. Return the popsicles to the freezer for at least 30 minutes to allow the chocolate coating to set. This step is crucial to ensure that the chocolate hardens properly and doesn’t melt off when you eat the popsicles.
5. Serve and Enjoy
Once the chocolate coating is set, your homemade Eskimo Pie popsicles are ready to enjoy! Serve them immediately or store them for later. For the best results, consume them within a week, though they can be kept frozen for up to a month.
Tips for Perfect Popsicles
1. Use Quality Ingredients
The flavor and texture of your popsicles will depend on the quality of the ingredients you use. Opt for high-quality chocolate and ice cream to enhance the taste and ensure a smooth, creamy texture.
2. Don’t Overheat the Chocolate
Melt the chocolate gently over low heat. If the chocolate gets too hot, it can seize up and become unusable. Adding a bit of coconut oil helps keep the chocolate smooth and workable.
3. Work Quickly
When dipping the popsicles in chocolate, work quickly to prevent the ice cream from melting. If you’re making a lot of popsicles, consider working in batches to ensure each one is coated evenly.
4. Experiment with Flavors
Feel free to get creative with your ice cream flavors and chocolate coatings. Mix and match different flavors to create unique popsicles that cater to your taste preferences.
5. Store Properly
To keep your popsicles fresh and prevent freezer burn, store them in an airtight container. Separate layers with parchment paper to prevent them from sticking together.
Variations to Try
1. Mint Chocolate Chip
For a refreshing twist, use mint chocolate chip ice cream. The cool mint flavor pairs perfectly with the chocolate coating, creating a deliciously indulgent treat.
2. Peanut Butter
Swirl peanut butter into vanilla ice cream or use peanut butter ice cream for a creamy, nutty flavor. You can also add crushed peanuts or drizzle extra peanut butter over the chocolate coating.
3. Cookies and Cream
Cookies and cream ice cream is a classic choice. For extra texture, mix crushed cookies into the melted chocolate or sprinkle them over the coating.
4. Fruit-Filled
For a lighter option, use fruit-flavored ice cream or sorbet. Dip the fruit-based popsicles in white chocolate for a sweet and creamy contrast.
5. Vegan and Dairy-Free
To make vegan Eskimo Pie popsicles, use dairy-free ice cream and dark chocolate. This combination provides a rich and satisfying treat that is suitable for those with dietary restrictions.
Healthier Alternatives

1. Use Greek Yogurt
Replace ice cream with Greek yogurt for a healthier alternative. Greek yogurt is lower in sugar and higher in protein. Sweeten it with honey or fresh fruit for added flavor.
2. Opt for Dark Chocolate
Dark chocolate has less sugar and more antioxidants compared to milk chocolate. It’s a great choice for a healthier chocolate coating.
3. Add Fresh Fruit
Mix fresh fruit into your Greek yogurt or ice cream to add natural sweetness and extra nutrients. Berries, bananas, and mangoes are great options.
4. Reduce the Sugar
Use unsweetened ice cream or yogurt and opt for natural sweeteners like maple syrup or agave nectar to reduce the overall sugar content.
5. Go for Smaller Portions
If you’re looking to control portions, use mini molds or ice cube trays to create bite-sized popsicles. This way, you can enjoy the treat without overindulging.
Creative Ways to Personalize Your Popsicles
1. Add a Drizzle
For an extra touch of sweetness, drizzle contrasting chocolate or caramel over your popsicles. This adds a visual appeal and extra flavor.
2. Use Edible Decorations
Decorate your popsicles with edible decorations like sprinkles, colored sugar, or edible glitter for a festive look.
3. Create Layers
Layer different ice cream flavors in your popsicle molds for a visually stunning and delicious treat. Use contrasting colors and flavors to make each bite interesting.
4. Dip in Different Chocolates
Experiment with different types of chocolate for the coating. Milk, dark, and white chocolate all offer unique flavors and textures.
5. Add a Crunchy Coating
Roll your popsicles in crushed nuts, cookie crumbs, or cereal for an added crunch. This not only enhances the texture but also adds an extra layer of flavor.
How to Involve Kids in the Process
1. Let Them Choose the Flavors
Involve your kids by letting them pick their favorite ice cream flavors. It makes the process more fun and personal.
2. Give Them Simple Tasks
Kids can help with tasks like scooping ice cream into molds, inserting sticks, and dipping popsicles in chocolate.
3. Make It a Learning Experience
Use the opportunity to teach kids about freezing and melting. Explain how the ice cream hardens in the freezer and how chocolate solidifies.
4. Encourage Creativity
Allow kids to get creative by mixing in ingredients and decorating their popsicles with toppings. This helps them feel invested in the final product.
5. Reward Their Efforts
Praise your kids for their efforts and enjoy the popsicles together. It’s a great way to celebrate a job well done and enjoy a sweet treat as a family.
How to Store Your Popsicles
1. Use an Airtight Container
Store your popsicles in an airtight container to keep them fresh and prevent freezer burn. This helps maintain their texture and flavor.
2. Separate Layers with Parchment Paper
To avoid sticking, place parchment paper between layers of popsicles in the container. This prevents them from freezing together.
3. Label and Date
Label your container with the flavor and date. This makes it easy to keep track of what you have and when it was made.
4. Keep Them at the Back of the Freezer
Store your popsicles at the back of the freezer where the temperature is most consistent. This helps ensure they freeze properly and maintain their quality.
5. Enjoy Within a Month
For the best taste and texture, enjoy your popsicles within a month. Although they can be kept longer, they are best consumed fresh.
FAQs
1. How do I make sure my popsicles don’t stick to the mold?
To prevent sticking, make sure the ice cream is fully frozen before removing it from the mold. Running warm water over the outside of the mold for a few seconds can help release the popsicles.
2. Can I use store-bought ice cream for this recipe?
Yes, store-bought ice cream works perfectly for this recipe. Choose a flavor you enjoy for the base of your popsicles.
3. How can I prevent the chocolate coating from cracking?
Ensure the chocolate is not too thick and works quickly when coating the popsicles. For a thicker coating, dip the popsicle a second time. If the coating still cracks, try adding a bit more coconut oil to the chocolate.
4. Can I make these popsicles in advance?
Absolutely! Homemade Eskimo Pie popsicles can be made in advance and stored in the freezer for up to a month. Just ensure they are stored properly to maintain their quality.
5. What’s the best way to melt chocolate for coating?
Melt chocolate over low heat in a small saucepan, stirring constantly to avoid burning. Adding a bit of coconut oil can help smooth the chocolate and make it easier to coat the popsicles.
Conclusion
Making the best homemade Eskimo Pie popsicle recipe is a fun and rewarding experience that allows you to enjoy a classic treat with a personal twist. Whether you’re serving them at a summer party, making them for a family treat, or simply indulging in a sweet craving, these popsicles are sure to delight. With the tips, variations, and storage advice provided, you’ll be able to create perfect popsicles every time. So grab your ingredients, get creative, and start making your own homemade Eskimo Pie popsicles today!
